Table of Contents
Wondering how to set up Odoo 13 in AWS EC2 Linux instance. If yes, this is a perfect piece of writing for you. This article will walk you through the steps to set up Odoo 13 in the AWS EC2 Linux instance easy and quick. All you need to do is simply install the latest version of Odoo which is Odoo 13 in your AWS EC2.
What is Odoo and why choose AWS EC2 to run Odoo?
You might be having an idea of what is Odoo and how it really works. To start with, Odoo is a business management software that includes CRM, billing, accounting, e-commerce, manufacturing, project management, and inventory management, and much more. Odoo is a suite of integrated open source applications.

AWS EC2 (Amazon Elastic Compute Cloud) is known for its flexibility and scalability. You can benefit low cost and effective performance from AWS EC2.
How to Launch an AWS EC2 Ubuntu Instance
Login in to your AWS account and launch a new AWS EC2 instance with Ubuntu 18.04 image. Once you launch an instance you will get a pem key to access the instance using SSH(Secure Shell) in Terminal. The SSH protocol uses encryption to secure the connection between a client and a server. Make sure you have downloaded the server (instance)pem file and keep it safe because without the pem file we can’t log in into the server. And there is no way other than terminating our instance and launching it again.
To connect the server we should give 400 permission for the pem file which is like giving only read permission to the owner.
ALSO READ: MongoDB In Golang With Examples – A Beginner’s Guide
Step 1: Login the server
The first thing to do is to login into the server.
chmod 400 odoo-crm-test.pem
ssh -i "odoo-crm-test.pem" ubuntu@Public DNS or Server Ip Address
Step 2: Installing Prerequisites
Run the following command to check if your system is up to date.
sudo apt update -y
sudo apt upgrade -y
sudo apt install git python3-pip
Step 3: Creating a System User
Create a system user to run Odoo with the home directory /opt/odoo13. I am here using Odoo 13 as the user name. You can create any name for a user as long as you create a PostgreSQL user with the same name.
sudo useradd -m -d /opt/odoo13 -U -r -s /bin/bash odoo13
Step 4: Installing and Configuring PostgreSQL
Odoo uses PostgreSQL as the database back-end. Run the following command to install postgresql on your system.
sudo apt install postgresql -y
Once the installation is done. Create a postgresql user with the same name created previously for system user which in this case is Odoo 13.
sudo su - postgres -c "createuser -s odoo13"
Step 5: Installing Wkhtmltopdf
Wkhtmltopdf offers a set of open-source command-line that can render HTML into PDF and various image formats using the Qt WebKit rendering engine. They run entirely “headless” and do not require a display or display service.
We can download the package using the below wget command.
sudo wget https://builds.wkhtmltopdf.org/0.12.1.3/wkhtmltox_0.12.1.3-1~bionic_amd64.deb
After downloading the package, install them by typing the below command.
sudo apt install ./wkhtmltox_0.12.1.3-1~bionic_amd64.deb
Step 6:Installing and Configuring Odoo 13
Here, we will install Odoo from the source inside an isolated Python virtual environment.
Login into the Odoo 13 user
sudo su - odoo13
Clone the Odoo 13 source code from github.
git clone https://www.github.com/odoo/odoo --depth 1 --branch 13.0 /opt/odoo13/odoo
Create a new Python Virtual Environment for Odoo. Move to the /opt/odoo13 directory using the cd command.
cd /opt/odoo13
python3 -m venv odoo13-env
Type the following command to activate the virtual environment.
source odoo13-venv/bin/activate
Step 7: Install all the required Python modules using pip3
pip3 install wheel
pip3 install -r odoo/requirements.txt
To deactivate the virtual environment, type the command:
(venv) $ deactivate
Create a new directory that will hold the 3rd party addons using the below command:
mkdir /opt/odoo13/odoo-extra-addons
Type exit to switch back to your sudo user.
Create a configuration file using the following command:
sudo cp /opt/odoo13/odoo/debian/odoo.conf /etc/odoo13.conf
Create an odoo13.conf file and copy the following lines into it.
sudo vim /etc/odoo13.conf
[options]
; This is the password that allows database operations:
admin_passwd = admin_passwd
db_host = False
db_port = False
db_user = odoo13
db_password = False
addons_path = /opt/odoo13/odoo/addons, /opt/odoo13/odoo-extra-addons
Step 8: Creating a Systemd Unit File
Create a Service unit file naming Odoo13.service with the below content and add the following lines into the odoo13.service file.
sudo vim /etc/systemd/system/odoo13.service
[Unit]
Description=Odoo13
Requires=postgresql.service
After=network.target postgresql.service
[Service]
Type=simple
SyslogIdentifier=odoo13
PermissionsStartOnly=true
User=odoo13
Group=odoo13
ExecStart=/opt/odoo13/odoo13-env/bin/python3 /opt/odoo13/odoo/odoo-bin -c /etc/odoo13.conf
StandardOutput=journal+console
[Install]
WantedBy=multi-user.target
Let the systemd know that a new unit file exists. Note that Systemd is a system and service manager for Linux operating systems. It provides a standard process for controlling what programs run when a Linux system boots up.
sudo systemctl daemon-reload
Start the Odoo service and allow it to start on boot by running the following command:
sudo systemctl start odoo13
sudo systemctl status odoo13
sudo systemctl enable odoo13
To see the messages logged by the Odoo service, use the command below:
sudo journalctl -u odoo13>
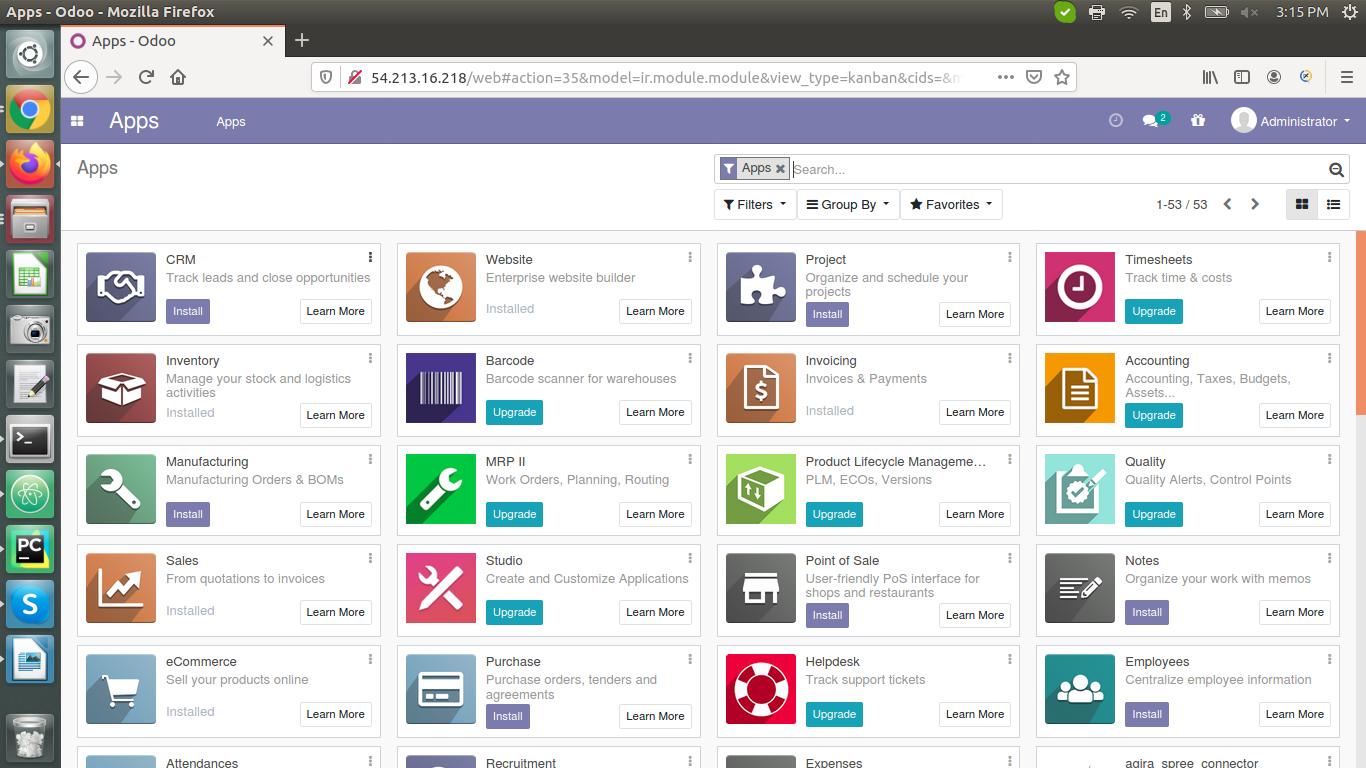
Now you can access the application in the server Ip address. Open a browser and type
http://<domain_or_IP_address>:8069
Step 9: Setup Nginx HTTP proxy for Odoo
Install the nginx web server and create a new configuration file for Odoo.
sudo apt-get install nginx
sudo vim /etc/nginx/conf.d/odoo.conf
Modify this configuration file by adding the below lines.
# Odoo Upstreams
upstream odooserver {
server 127.0.0.1:8069;
}
server {
listen 80;
server_name www.example.com or Your Server IP Address ;
access_log /var/log/nginx/odoo_access.log;
error_log /var/log/nginx/odoo_error.log;
# Proxy settings
proxy_read_timeout 720s;
proxy_connect_timeout 720s;
proxy_send_timeout 720s;
proxy_set_header X-Forwarded-Host $host;
proxy_set_header X-Forwarded-For $proxy_add_x_forwarded_for;
proxy_set_header X-Forwarded-Proto $scheme;
proxy_set_header X-Real-IP $remote_addr;
# Request for root domain
location / {
proxy_redirect off;
proxy_pass http://odooserver;
}
# Cache static files
location ~* /web/static/ {
proxy_cache_valid 200 90m;
proxy_buffering on;
expires 864000;
proxy_pass http://odooserver;
}
# Gzip
gzip_types text/css text/less text/plain text/xml application/xml application/json application/javascript;
gzip on;
}
Restart the nginx server
sudo systemctl restart nginx
sudo systemctl status nginx
Now open the server and access the application using the port 80
http://<domain_or_IP_address>

Let’s encrypt the webserver with SSL using certbot.
Step 10: Installing Certbot
sudo add-apt-repository ppa:certbot/certbot
Install Certbot’s Nginx package with apt:
sudo apt install python-certbot-nginx
sudo certbot --nginx -d www.example.com or Your server IP address
Now you can access your site securely.
https://<domain_or_IP_address>
you might have never thought that setting up Odoo with AWS EC2 is this simple. I hope this tutorial really helps you to set up Odoo 13 on the AWS EC2 Linux instance.
Do you find it interesting? you might also like these articles. Top 10 Best Tech Companies For Employees To Work In The USA In 2020 and Top 10 IT Staffing and Recruiting Agencies in the USA.
If you have a business idea in your mind and in search of a reliable web development company, you are in the right place. Hire the best web developers in the industry from Agira technologies.


