Table of Contents
Angular CLI
Angular CLI is a command line interface which helps to setup Angular applications easily. By default, it will structure the app and create the necessary files. With Angular CLI, it is even more easy to create production-ready applications.
Once the application finished where we can deploy? While there are many ways to deploy but here comes the Firebase which makes deployment super easy.
Firebase is a mobile and web application development platform developed by Firebase later acquired by Google in 2014. Firebase offers many great features.
Let’s see how to create an angular app and deploying it to firebase.
Install Angular CLI
We have to install Angular CLI to create an app. Use the below command to install.
npm install -g @angular/cli
Creating An Angular App
After installing angular CLI, you can able to create a new angular app.
ng new app-name
Change it to the name you like, here I am naming it as angular-firebase.
ng new angular-firebase
Running An Angular App
Once the app created, follow the steps to run the app.
cd angular-firebase/
ng serve --open

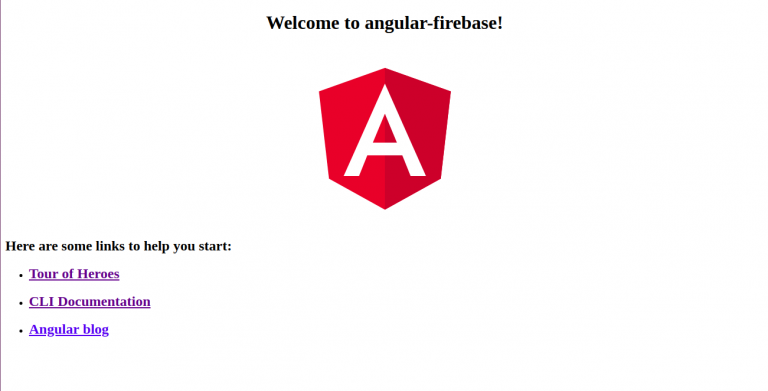
Now our app is running up and working fine. Let’s start setting Firebase up for deployment.
Creating Firebase App
We have to create a Firebase account and a Firebase app to deploy. Once you log in to your account create a new app.
Now, I am creating an app with the name Angular Firebase App.

Install Firebase CLI Tools
Now we have to install Firebase CLI Tools to deploy the angular app to firebase.
npm install -g firebase-tools
After installing firebase tools we have to login to firebase using the terminal. Use the below command to login.
firebase login

After running login command, it will generate a link so open that link and authenticate it then logging from the terminal will become successful.
Also Read: How To Build Login Page Using Angular Material Design Clearly Explained
Link Your App To Firebase App
Now we have to link our local angular app to firebase app that we have created and to do this run the below command.
firebase init
After running the above firebase tools will ask the following questions

1) Which Firebase CLI features do you want to setup for this folder? (use space to select the option and press enter to confirm)
Ans: Hosting
2) Select a default Firebase project for this directory (Use arrow keys to select and press enter)
Ans: Select the project to which you want to deploy.
3) What do you want to use as your public directory?
Ans: dist/angular-firebase (If you are using different name give that one)
4) Configure as a single-page app (rewrite all urls to /index.html)?
Ans: Yes
After answering the above questions it will create two files in our application.
1. firebaserc : Sets the Firebase app which we linked to,

2. firebase.json : Sets the hosting folder and rewrites

Deploying An Angular App To Firebase
Connecting our local app to firebase is completed. Now we have to create a production build of our angular app.
ng build --prod
Once the build created, run the below command to deploy the application.
firebase deploy

Successfully the app is deployed. To check whether the app is working or not, visit the Hosting URL that we got in the console. There is also another way to open the application from the terminal itself.
firebase open hosting:site
It’s simple as like that! Try out deploying your angular apps to production with firebase hosting. In future, we will try with other hosting providers too. Post your comments below, we had like to hear from you!


