Table of Contents
What Is Active Storage?
Active Storage is a process that helps you to upload files to cloud storage like Amazon S3, Google Cloud storage, or Microsoft Azure storage. It uses local-disk based service for development and testing. Also it supports for mirroring files to subordinate services for backups and database migrations.
This feature is available only from Rails 5.2. So, please upgrade to the latest version
Upgrading To Rails Latest Version:-
For upgrading to Rails latest version. Please use the following command.
$ gem install rails --pre
After upgrading your application to Rails 5.2. Once check Rails version using below command.
$ rails -v
If your Rails version is 5.2 then start the application,
$ rails s
Setup The Configurations:-
After upgrading your rails application into rails, 5.2 then run the following command to install active storage.
$ rails active_storage:install
![]()
Then it will create one migration file. Once, You can do that migration by using below command.
$ rails db:migrate
Once you run the command, then it will create two tables in your database which likely named active_storage_blobs and active_storage_attachements. It will look like below.

Declaring Disk Services:-
Declare active storage services in config/storage.yml. For each service, your application uses the name and requisite configuration. For example, You can see three services named like local, test and amazon like below and you can declare Disk service here.
test:
service: Disk
root: <%= Rails.root.join(“tmp/storage”) %>
local:
service: Disk
root: <%= Rails.root.join(“storage”) %>
You have define in the environment about the Active Storage service which we are planning to use in Rails.application.config.active_storage.service. Because each environment will be using different services. And, here we used disk service for Local & test. Next, you can add the following line to config/environments/development.rb to define your service.
# uploading files will be store in locally
config.active_storage.service = :local
Amazon S3 Service:-
Define the Amazon configurations in config/storage.yml. Declare the following keys to set up Amazon s3 service.
amazon:
service: S3
access_key_id: “ “
secret_access_key: “ ”
region: “ ”
bucket: “ ”
Add the ‘aws-sdk-s3’ gem to Gemfile.
gem ‘aws-sdk-s3’, require: false
You can use different services like Microsoft Azure, and Google Cloud storage for the production environment. Besides, Whatever the service you are using, you have to declare the configurations in the config/storage.yml file. also don’t forget to mention the config.active_storage.service in config/environments/production.rb.
Now for the production environment,
You could add the below line to config/environments/production.rb to intiate the Amazon s3 service.
# Uploading files stores in amazon service
config.active_storage.service = :amazon
How To Use Active Storage Usage In Application:-
To Attach Files To Records
every record has one uploading file association. So to set one to one mapping relation you can use below keyword has_one_attached.
For example, you can see the below code to note how i have used it in my code.
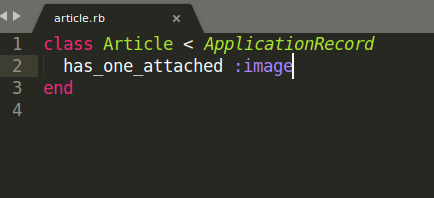
In Model :
has_one_attached :image
Note: No need to create the image variable in the Article table. It will use ActiveStorage::Blob and ActiveStorage::Attachment tables to store the data.
In Controller:
We have to permit image variable along with article variables

After permitting the image variable then create the action now,
class ArticlesController < ApplicationController
def create
@article = Article.new(article_params)
# @article.images.attach(params[:article][:images])
respond_to do |format|
if @article.save
format.html { redirect_to @article, notice: 'Article was successfully created.' }
# format.json { render :show, status: :created, location: @article }
else
format.html { render :new }
# format.json { render json: @article.errors, status: :unprocessable_entity }
end
end
end
private
def article_params
params.require(:article).permit(:title, :image)
end
end
If you want to attach new image on existing articles then call image.attach to get it done.
@article.image.attach(params[:image])
And to check whether the image is attached on article or not.
@article.image.attached?
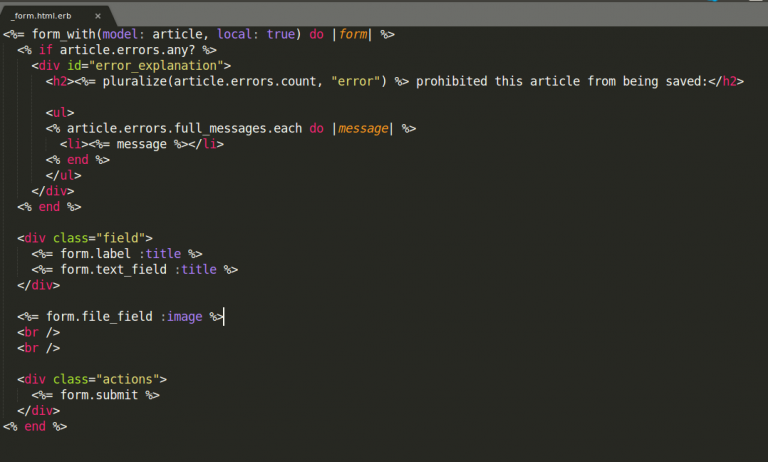
In View :
<%= form.file_field :image %>
Result:
Now the result will look like this below screen which has the attached image for the article.

We can see in the backend how the image is storing into the Active Storage table.
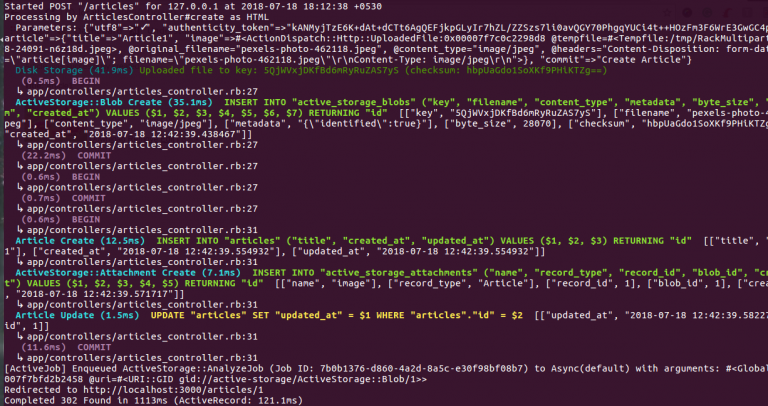
On the backend, How it is fetching the image from ActiveStorage tables, Look at below screenshot
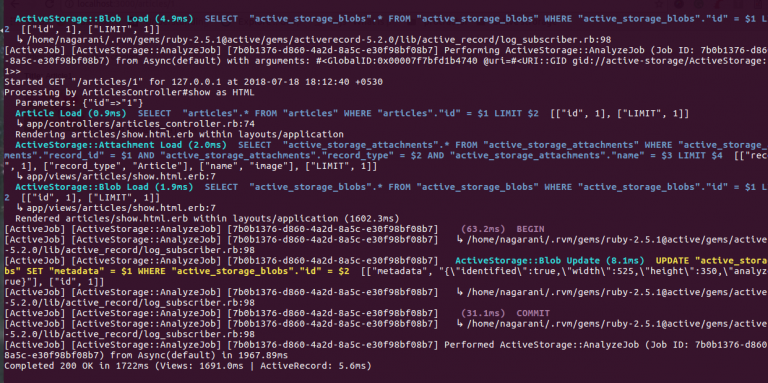
finally, this is how the uploaded image will look on the browser.

has_many_attached:-
The has_many_attached sets for one to many association relations. To brief more, it’s like one record can have more uploading files.
For example, You have to add like
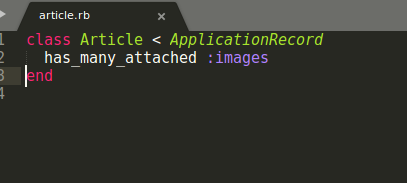
In Model :
has_many_attached :images
In Controller :
We have to permit images variable along with article variables
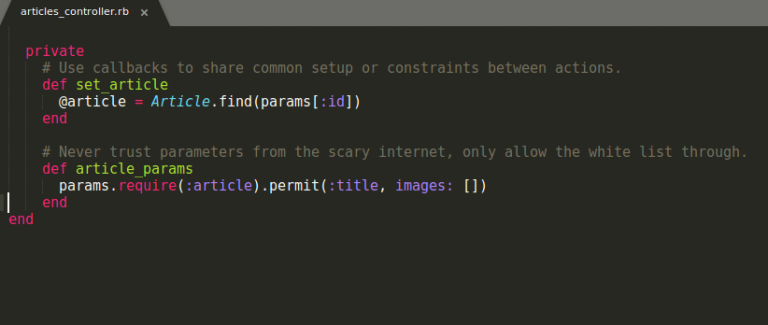
After permitting the images, will move to create action,
class ArticlesController < ApplicationController
def create
@article = Article.create!(article_params)
respond_to do |format|
if @article.save
format.html { redirect_to @article, notice: 'Article was successfully created.' }
else
format.html { render :new }
end
end
end
private
def article_params
params.require(:article).permit(:title, images: [])
end
end
Call images.attach to add new messages for existing articles.
@article.images.attach(params[:images])
Also, to check the article images are attached or not.
@article.images.attached?
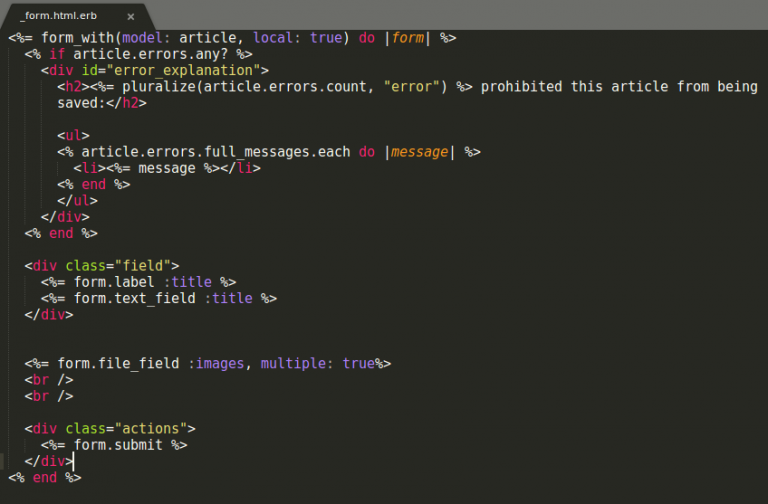
In View :
<%= form.file_field :images, multiple: true%>
In the browser :
See the following screenshot to create the article with two or more images,
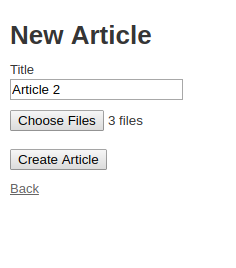
We can see in the backend how the image is storing into the Active Storage table.
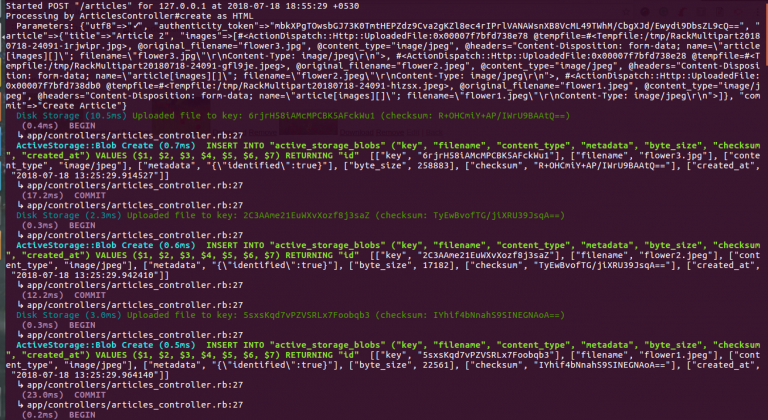
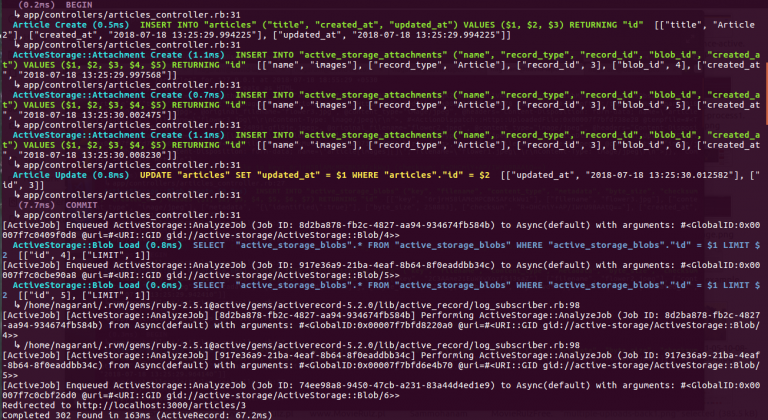
On the backend How it is fetching the image from ActiveStorage tables, Look at below screenshot

Showing Uploaded image in the browser, check below screenshot

Transforming Images:-
For enabling Variant, We have to add the image_processing gem to your Gemfile
gem 'image_processing', '~> 1.2'
After adding gem and bundle install, we can use a variant in view like
<%= image_tag image.variant(resize: "100x100") %>
To use vips processor, you can add the following line in config/application.rb
config.active_storage.variant_processor = :vips
Downloading Images:-
Add the following line to download the images,
<%= link_to 'Download', image, download: image %>
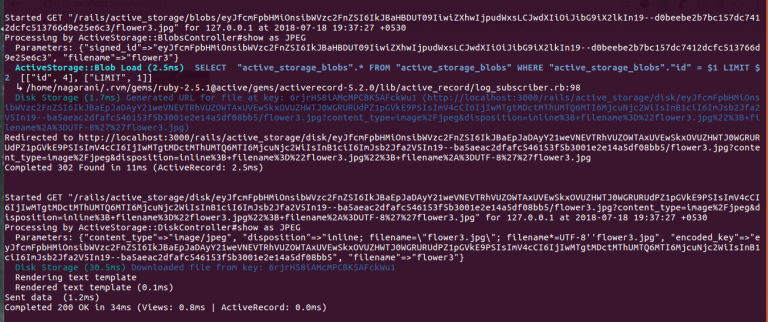
We can see how the image is getting downloaded from Active Storage tables here.
Removing Images:-
In View :
<%= link_to 'Remove', delete_image_article_path(image), method: :delete, data: { confirm: 'Are you sure?' }%>
In Controller:
def delete_image
@image = ActiveStorage::Attachment.find(params[:id])
@image.purge
redirect_to articles_path
end
For example, I clicked on Remove link, see now it’s asking for the confirmation to delete the image.

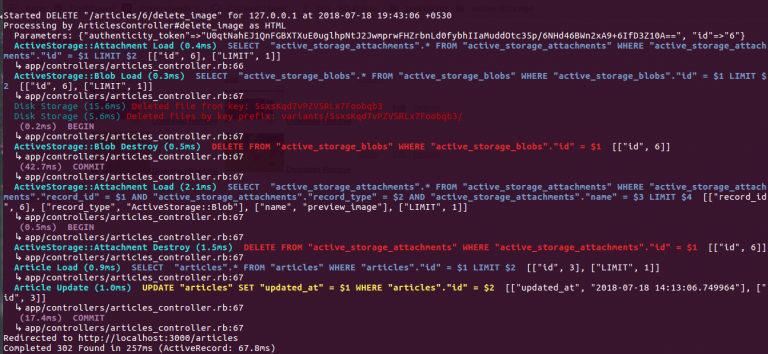
After Confirming to remove the image, You’re seeing the backend process how the image is getting fetched from the table using image id and getting removed.
The final result after removing the image,

Cool! we’re almost done with Active Storage. Now explore this other possibility of using Active Storage which could save your time from creating additional works like creating tables , fields or maintaining it’s storage. Leave it to the hands of Active storage which can completely manage and maintain your uploaded files. All set!
Hope this post helps you to start with Active storage in Rails, Read more blog like this on our largest blog portal so stay tuned! and in case if you’re a newbie then don’t forget to subscribe us to get the latest updates from diverse technologies. Besides all, Post us your valuable thoughts in the comment section.
For any queries reach us via info@agiratech.com


